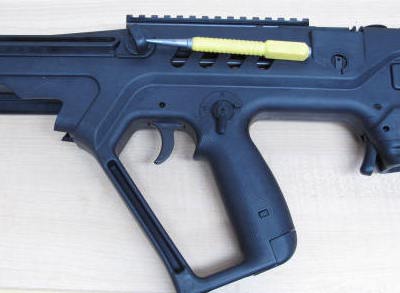
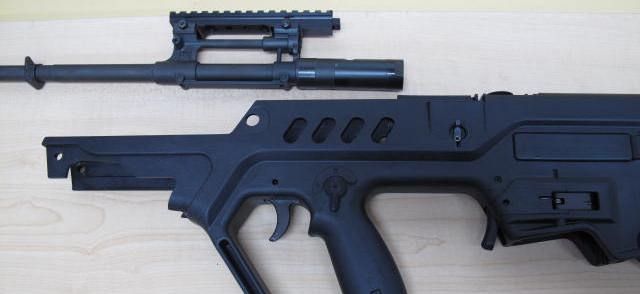
How to convert for left hand use
You do not need to be a mechanics genius to perform this procedure, but it does require a bit of habilities. Take your time, ensure you do not break anything or lose screws or pins. And remember this is not an Ikea kit, you should have no parts left at the end (except for the right hand bolt)!
Note that if you fired the rifle in the right handed configuration, take the opportunity to clean it thouroughly as you go through the steps!
Parts
The only part you need to purchase is a left hand bolt. Everything else can be reversed without needing additionnal parts.
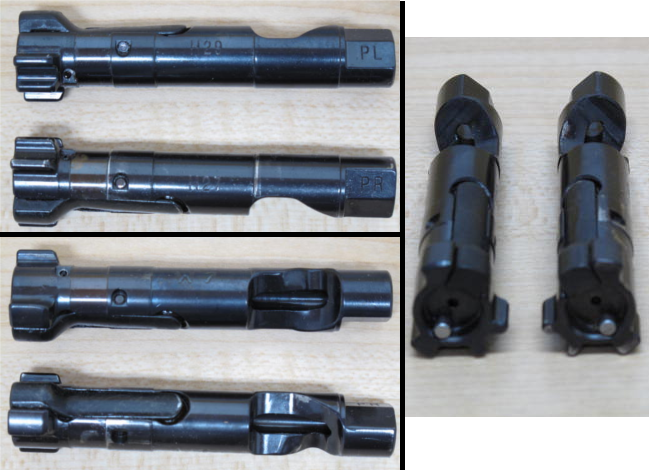
The left hand bolt is marked PL. As you can see it is an exact mirror of the right hand bolt.
You will need
- Allen wrenches.
- Barrel wrench.
- Blue loctite.
- Hammer.
- Punches, different sizes.
Preparation
Perform a safety check.
Perform a preliminary disassembly.
Perform a recoiling system disassembly.
Reverse recoiling system
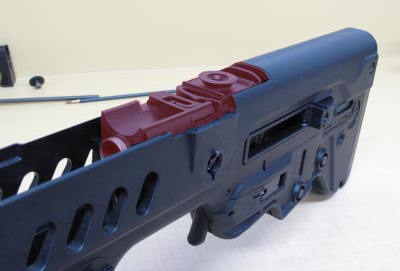
The recoiling system disassembly is done, you should have these parts available. Note the 2 bolts.
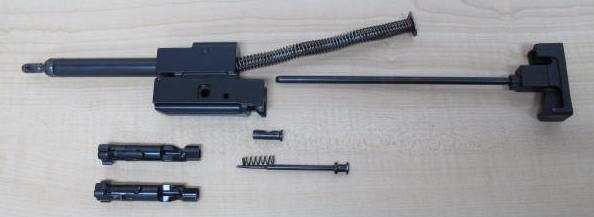
Two (2) pins need to be taken out and assembled to the other side of the bolt carrier.
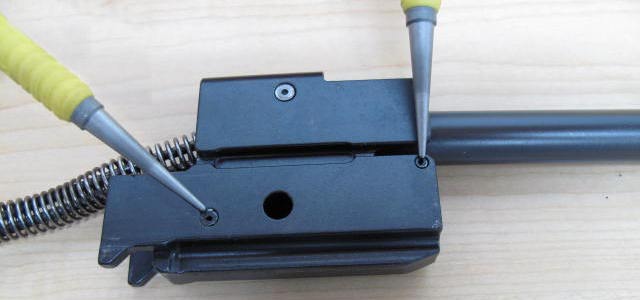
Use a punch of the appropriate size to punch the pins out and put them back in on the other side. It is very important that the pins are flush with the bolt carrier sidewall.
Once the pins are moved to the left side of the bolt carrier, perform the recoiling system assembly procedure using the left hand bolt.
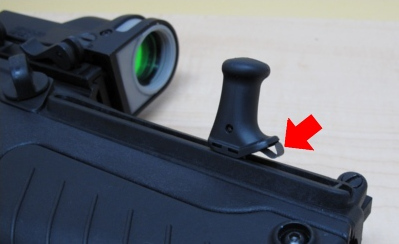
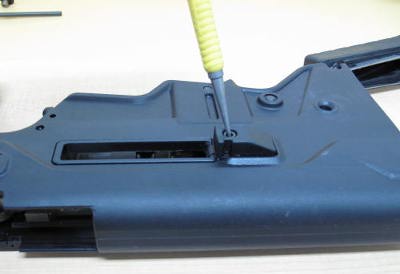
Reverse the cocking handle
Unscrew the two cocking handle guide screws (one on each side).
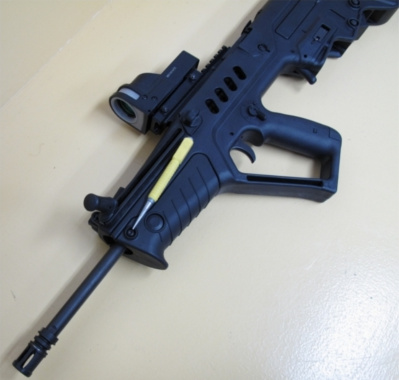
Pull the grip downwards. It rotates from the back.
Turn the rifle over. Pull out the security pin.
Turn the rifle over. Unscrew the forward sling sleeve from the sling lock. Remove both from the rifle.
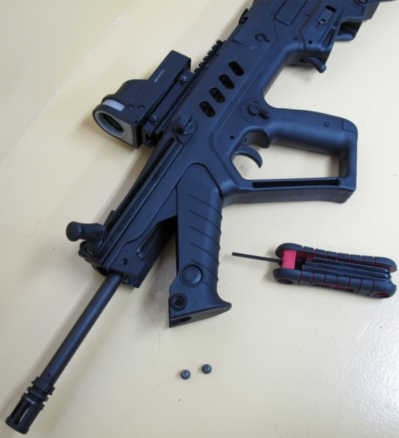
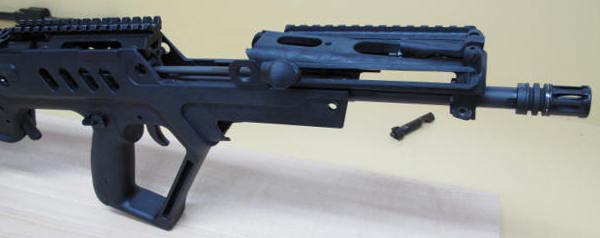
Pull the cocking handle guide assembly forward.

The cocking handle guide assembly should slide right off at this point. But this is assuming you removed the flash suppressor first!
I have not done that. So when the assembly reaches the flash suppressor you need to gently pull on the receiver (red arrow, on both sides!) to disengage the assembly from it. Pull the assembly up to clear the flash suppressor.
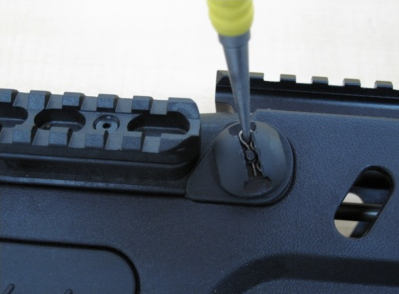
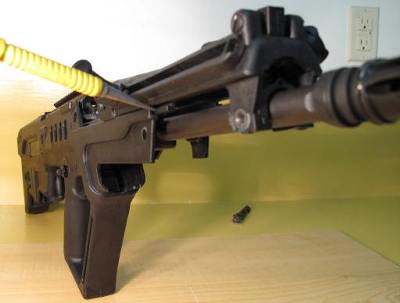
Using an appropriate punch, remove the cocking handle securing pin (1) and pull the cocking handle (2) off the cocking handle bar (3).
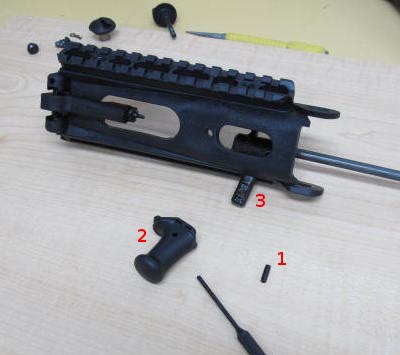
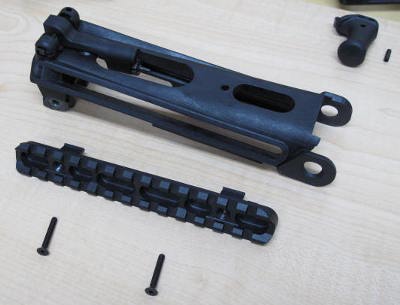
Pull the cocking handle bar out of the cocking handle guide assembly. Then remove the accessory rail from the guide.
Reassemble the rail on the other side (facing you in the pictures). Note that an arrow inside the rail indicates which side should face forward.
Insert the cocking handle bar back in the guide. Put the cocking handle back on the bar and secure it with the pin.
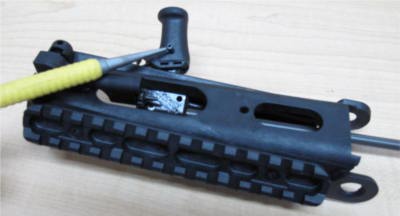
Make sure the cocking handle spring (red arrow) faces forward.
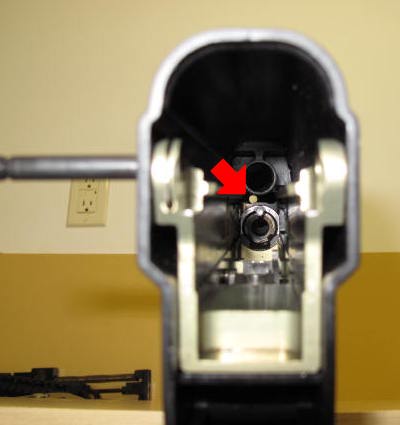
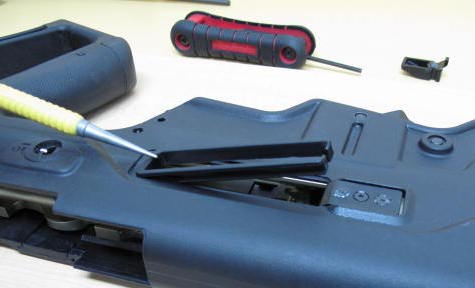
Reverse the front shield
It is not possible to assemble the cocking handle guide assembly back on the rifle. The cocking handle bar cannot be inserted in the cocking guide hole. That is because the barrel front shield blocks it! The shield needs to be flipped over to open the proper hole.
In the picture, the red arrow points to the guide hole when the rifle is configured for right hand use.
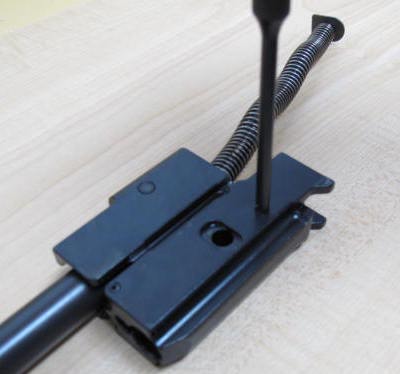
To reverse the shield, the barrel needs to be removed.
Two things must be done at the same time:
- Unlock the plate locking pin barrel lock (top picture). Simply push on it with a punch.
- Using a barrel wrench, turn the barrel locking pin (bottom picture) 180°. The barrel will be unlocked when the white line is aligned with "O".
The barrel locking pin is quite hard to turn, especially if - like me - you do not have an official barrel wrench and must make do.
Once the pin is turned, slide the barrel forward and out of the rifle.
Remove the gas cylinder (coloured red in this picture). Simply push it forward.
The shield is attached to the gas cylinder. Slide if off, rotate it and slide it back on.
Left picture, right handed configuration. Right picture, how it should look like after you are done.
When done, set it aside, along with the barrel. Other steps will be taken care of before they are put back on the rifle.

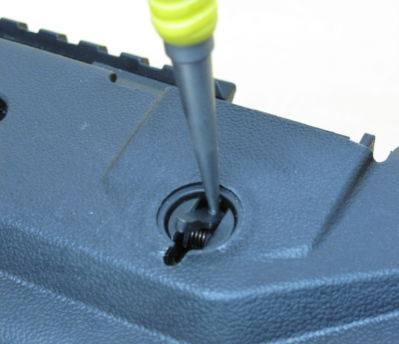
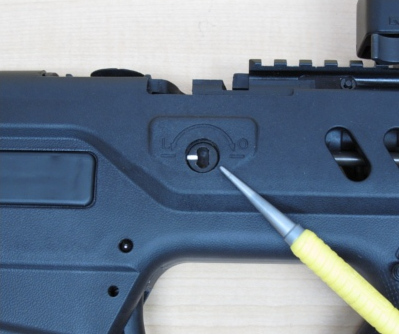
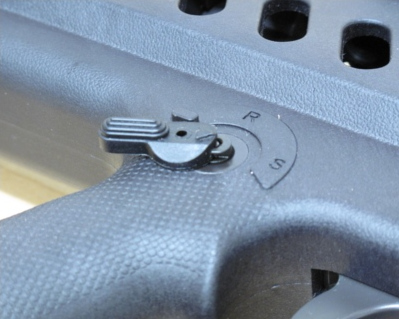
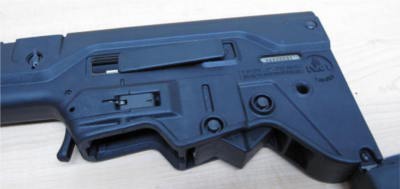
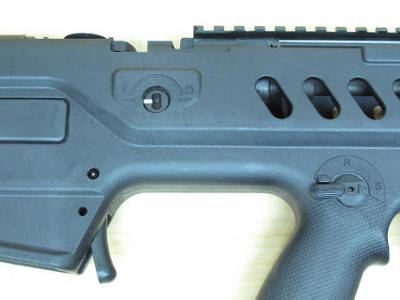
Reverse the safety lever
You do not need to disassemble the whole safety mechanism. Just remove the lever and the pivot cover and install them on the reverse side.
To remove, use a small punch to push the plunger, then slide the safety lever towards the rear.
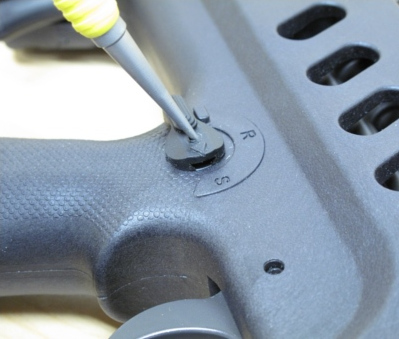
To install it on the other side, simply slide it on the safety mechanism until the plunger sits back in the small hole.
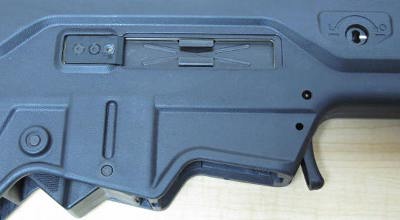
Reverse the ejection port cover and the deflector
Unscrew the deflector screw and remove the deflector.
Remove the insert protector.
Turn the rifle over and slide out the ejection port cover.
The metal ejection port shield will fall inside the rifle.
Reassemble on the opposite side.
Ensure the ejection port cover catches the metal ejection port shield when sliding it on.
Assemble gas cylinder and barrel
Finaly everything is done, all that is left is to assemble the rifle.
Insert the gas cylinder into the receiver and push it into place. Make sure the barrel shield is in the proper position.
With the white mark on the barrel lock pin aligned with "O", insert the barrel into the receiver. Push it all the way back. The barrel aligns with the insert and the gas cylinder.
Lock the barrel in place. Using the barrel wrench, turn it until the while mark is aligned with "L".
This can be quite difficult. I had to strugle with mine quite a lot. Be careful you do not damage the locking pin.
Assemble cocking handle and grip
Insert the cocking handle bar into the cocking guide hole. Align the tracks on the cocking handle guide assembly with the ridges on the receiver and slide the assembly into the receiver.
Assemble the sling swivel to lock the assembly into place. Remember to reverse it from it's original setup.
Aligning the tracks and ridges on the cocking handle guide assembly and receiver.
Assemble the grip. Make sure you first insert the back of the grip on the receiver. Then rotate up. Apply a thin coat of Loctite on the guide cocking handle screws and tighten them.
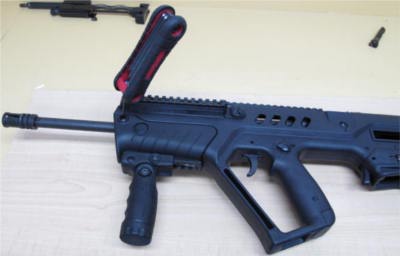
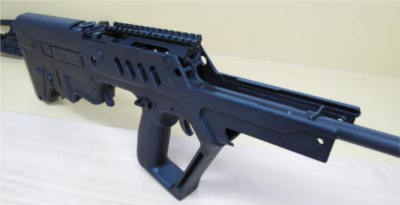
Final result